LiveChat for Android
Introduction
This documentation shows you how to embed a mobile chat widget in an Android application.
💡 The document adopted the new nomenclature, chat widget, but the library still uses the old name, chat window. Watch out when coding.
Installation
To get the project into your build, do the following:
1. Add the JitPack repository
Add it to your root build.gradle at the end of repositories:
allprojects {
     repositories {
         ...
         maven { url 'https://jitpack.io' }
     }
 }
2. Add the dependency
To add the dependency, use the following code:
dependencies {
    compile 'com.github.livechat:chat-window-android:v2.1.5'
}
Your application will need a permission to use the Internet. Add the following line to your AndroidManifest.xml:
<uses-permission android:name="android.permission.INTERNET" />
If you want to allow users to upload files from their external storage using the chat widget, a permission is needed as well:
<uses-permission android:name="android.permission.READ_EXTERNAL_STORAGE" />
Setup
You can use this library in a couple of ways. To be able to use all features, we recommend you to add the chat widget as a view, either by using a static method which adds the view to your Activity, or as an embedded view in your xml.
When ChatWindowView is initilized, you will get the events when a new message arrives.
First, let's configure the chat widget.
Configuration
The configuration is very simple - just use ChatWindowConfiguration.java constructor. Note that the licence number is mandatory.
configuration = new ChatWindowConfiguration(
  "your_licence_number",
  "group_id",
  "Visitor name",
  "visitor@email.com",
  customParamsMap
);
Chat Window View
There are two recommended ways to use the ChatWindow:
- Full screen ChatWindow added to the root of your Activity
- XML embedded ChatWindow to control the location and size
Full Screen Window
All you need to do is to create, attach and initialize the chat widget. For example:
public void startFullScreenChat() {
    if (fullScreenChatWindow == null) {
        fullScreenChatWindow = ChatWindowView.createAndAttachChatWindowInstance(getActivity());
        fullScreenChatWindow.setUpWindow(configuration);
        fullScreenChatWindow.setUpListener(this);
        fullScreenChatWindow.initialize();
    }
    fullScreenChatWindow.showChatWindow();
}
XML Embedded View
If you want to control the location and size of the ChatWindowView, you may want to add it to your app either by including a view in XML:
<com.livechatinc.inappchat.ChatWindowView
    android:id="@+id/embedded_chat_window"
    android:layout_width="match_parent"
    android:layout_height="400dp"/>
or by inflating the view directly:
ChatWindowView chatWindowView = new ChatWindowView(MainActivity.this);
and then initializing the ChatWindow with the full screen window approach:
public void startEmmbeddedChat(View view) {
    if (!emmbeddedChatWindow.isInitialized()) {
        emmbeddedChatWindow.setUpWindow(configuration);
        emmbeddedChatWindow.setUpListener(this);
        emmbeddedChatWindow.initialize();
    }
    emmbeddedChatWindow.showChatWindow();
}
Navigation
Depending on your use case you may want to hide the ChatWindow if a user hits the back button.
You can use our onBackPressed() function which hides the view if it's visible and returns true.
Add the following to your activity/fragment:
@Override
public boolean onBackPressed() {
    return fullScreenChatWindow != null && fullScreenChatWindow.onBackPressed();
}
ChatWindowEventsListener
The ChatWindowEventsListener listener allows you to:
- handle a case when a user wants to attach a file in the ChatWindow
- get notified if a new message has arrived in a chat (this comes in handy if you want to show a prompt for a user to read the new message)
- react to visibility changes (the users can hide the view on their own)
- handle user-selected links in a custom way
- react to and handle errors coming from the chat widget
File sharing
To provide your users with the option to send files, you need to set ChatWindowEventsListener on your ChatWindowView.
Your listener should override the onStartFilePickerActivity method and call startActivityForResult with intent and requestCode.
@Override
public void onStartFilePickerActivity(Intent intent, int requestCode) {
    startActivityForResult(intent, requestCode);
}
Then, enable the view to handle the activity result, for example, in the following way:
@Override
public void onActivityResult(int requestCode, int resultCode, Intent data) {
    if (fullChatWindow != null) fullChatWindow.onActivityResult(requestCode, resultCode, data);
    super.onActivityResult(requestCode, resultCode, data);
}
Handling URLs
You can disable chat widget's default behavior when a user selects a link by implementing the handleUri method from ChatWindowEventsListener.
@Override
public boolean handleUri(Uri uri) {
    // Handle uri here...
    return true; // Return true to disable default behavior.
}
Error handling
You might want to customize the user experience when encountering errors, such as problems with internet connection. By returning true in the onError callback method, you're taking responsibility for handling errors coming from the chat widget.
Please keep in mind that the chat widget, once it's loaded, can handle connection issues by sporadically trying to reconnect. This case can be detected by implementing the following condition in the onError callback method:
@Override
public boolean onError(ChatWindowErrorType errorType, int errorCode, String errorDescription) {
    if (errorType == ChatWindowErrorType.WebViewClient && errorCode == -2 && chatWindow.isChatLoaded()) {
        //Chat window can handle reconnection. You might want to delegate this to chat window
        return false;
    } else {
        reloadChatBtn.setVisibility(View.VISIBLE);
    }
    Toast.makeText(getActivity(), errorDescription, Toast.LENGTH_SHORT).show();
    return true;
}
Clear chat session
After your user signs out of the app, you might want to clear the chat session. You can do that by invoking a static method on ChatWindowView.clearSession(Context) from anywhere in the app. In case your ChatWindowView is attached in course of the log out flow, you also going to need to reload it by calling chatWindow.reload() after the clearSession code. See FullScreenWindowActivityExample.java.
Sample application
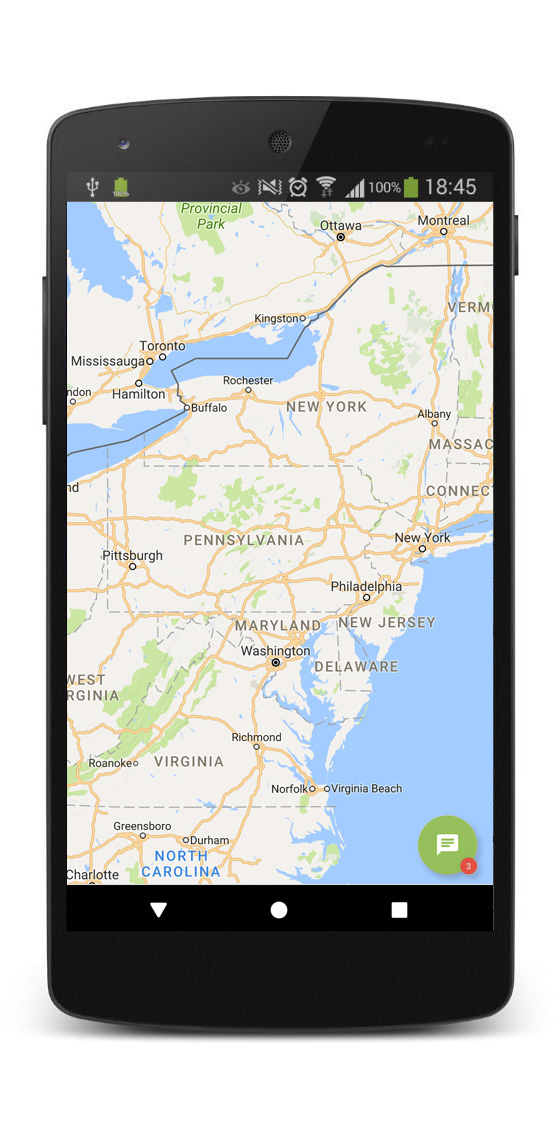
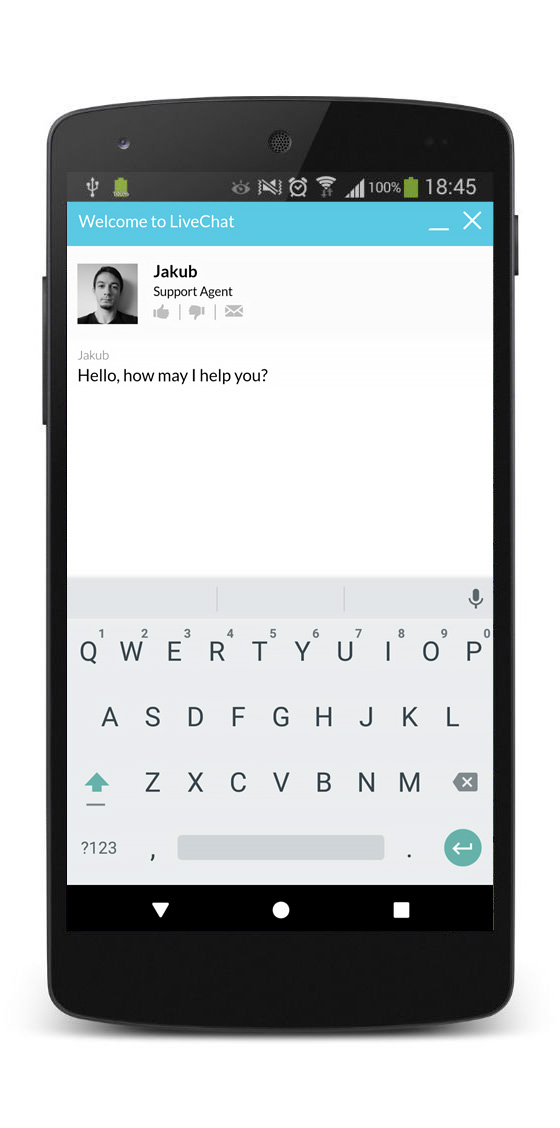
This sample app will display a chat trigger button. Once clicked, a chat widget with your support team will be opened in the app.
You can refer to our sample app in the module. There are examples for three usage cases:
- Full screen chat widget launched inside of an Activity
- Embedded chat widget launched from a Fragment
- Starting ChatWindowActivity (with limited capabilities)


Possible use-cases include: adding a chat button to your “Contact us” screen or displaying a chat button all the time within the app. Read more about providing in-app support in mobile applications.
Sample usage
There are two ways to open the chat widget – by using an Activity or a Fragment.
Activity
In order to open a chat widget in a new Activity, you need to declare ChatWindowActivity in your manifest. Add the following line to AndroidManifest.xml, between <application></application> tags:
<activity android:name="com.livechatinc.inappchat.ChatWindowActivity" android:configChanges="orientation|screenSize" />
Finally, add the following code to your application, in the place where you want to open the chat widget (e.g. button listener). You need to provide a Context (your Activity or Application object), your LiveChat licence number (taken from the tracking code) and, optionally, the ID of a group:
Intent intent = new Intent(context, com.livechatinc.inappchat.ChatWindowActivity.class);
intent.putExtra(com.livechatinc.inappchat.ChatWindowActivity.KEY_GROUP_ID, "your_group_id");
intent.putExtra(com.livechatinc.inappchat.ChatWindowActivity.KEY_LICENCE_NUMBER, "your_license_number");
context.startActivity(intent);
It’s also possibile to automatically log in to the chat widget by providing visitor’s name and email. You need to disable pre-chat survey in the web application and add the following lines to the previous code:
intent.putExtra(com.livechatinc.inappchat.ChatWindowActivity.KEY_VISITOR_NAME, "your_name");
intent.putExtra(com.livechatinc.inappchat.ChatWindowActivity.KEY_VISITOR_EMAIL, "your_email");
Fragment
In order to open chat widget in a new Fragment, you need to add the following code to your application, in the place where you want to open the chat widget (e.g. button listener). You also need to provide your LiveChat licence number and a group ID:
getFragmentManager()
   .beginTransaction()
   .replace(R.id.frame_layout, ChatWindowFragment.newInstance("your_license_number", "your_group_id"), "chat_fragment")
   .addToBackStack("chat_fragment")
   .commit();
ChatWindowFragment.newInstance() method returns the chat widget Fragment.
It’s also possible to automatically log in to the chat widget by providing visitor’s name and email. You need to disable pre-chat survey in the web application and use a different newInstance() method:
getFragmentManager()
   .beginTransaction()
   .replace(R.id.frame_layout, ChatWindowFragment.newInstance("your_license_number", "your_group_id", “visitor _name”, “visitor _email”), "chat_fragment")
   .addToBackStack("chat_fragment")
   .commit();
Alternative usage
Note: This option has limited capabilities.
If you don't need the chat to work in the background or to receive messages when the widget is minimized, use Activity and Fragment chat widget described above.
If you don't want the chat widget to reload its content every time a device orientation changes, add this line to your Activity in the manifest:
android: configChanges = "orientation|screenSize";
The chat widget will handle the orientation change by itself.
Translation
You can change or translate error messages by defining your own string resources with the following IDs:
<string name="failed_to_load_chat">Couldn\'t load chat.</string>
<string name="cant_share_files">File sharing is not configured for this app</string>